How to Build a Safe and Effective At-Home Dry Fire Range
Share
Train smarter, safer, and more often—right from your living room or garage.
Dry fire training is one of the most powerful ways to improve your shooting skills. But to get the most out of it (and keep it safe), you need the right setup. In this guide, we’ll walk you through how to build a safe and effective at-home dry fire range that helps you hit your goals without hitting the range every day.
Why Build a Dry Fire Range at Home?
- Save money on ammo: Live fire costs add up quickly. Dry fire with a CO₂-powered system like CoolFire lets you get thousands of reps for pennies.
- Train more often: You can’t always make it to the range, but you can always train at home.
- Build consistency: Short, frequent training sessions compound faster than occasional range trips.
- Stay safe: A properly set up dry fire area eliminates the risk of mixing live ammo into practice.
Step 1: Choose Your Training Space
Look for a spot that’s:
- Quiet and distraction-free: Garage, basement, spare room.
- Safe backstop direction: Always orient your training so you’re not pointing toward people or valuables.
- Big enough for movement: If you’re working draw strokes or USPSA stages, you’ll need a few yards of space.
Pro Tip: Many competitive shooters use their garage. Tape off a “shooting box” to simulate match stages and use portable targets to change scenarios.
Step 2: Make It 100% Safe
Before you do a single rep:
- Clear your firearm. Twice. Visually and physically inspect it.
- Remove all live ammo from the room. Don’t even leave a loaded mag on the workbench.
- Use a dedicated training system. A CoolFire Trainer physically blocks live ammo from being chambered, giving you peace of mind.
Safety mantra: Treat every session like live fire. Consistency builds habits—and bad habits are hard to undo.
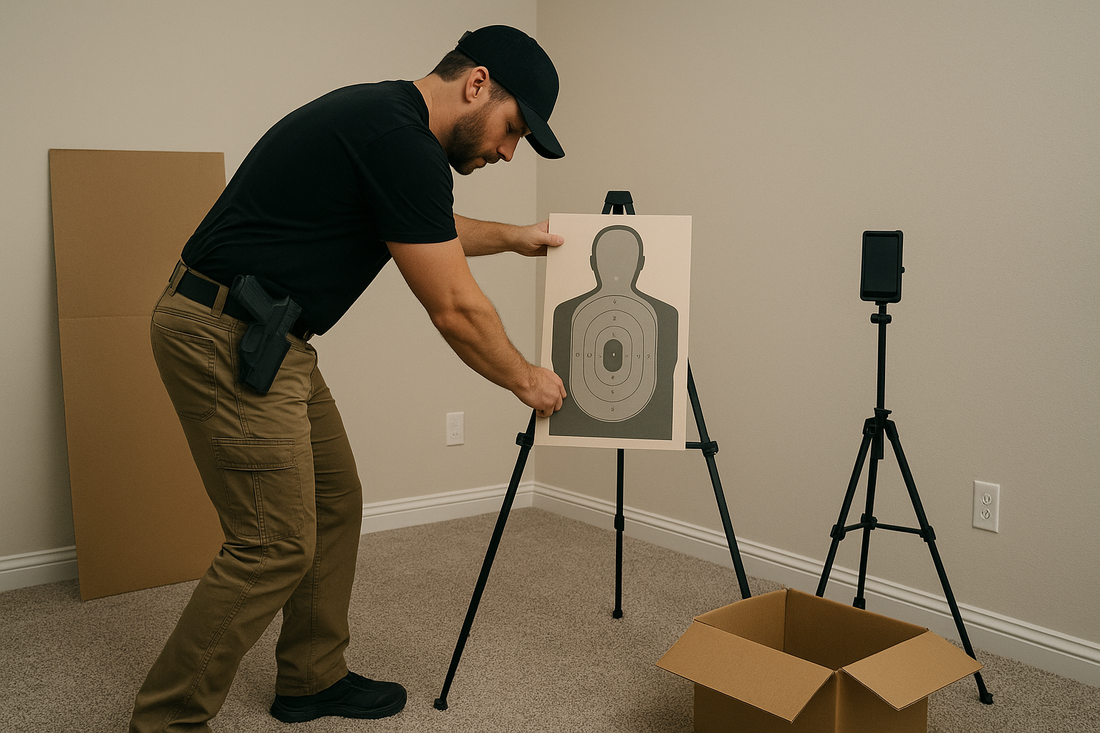
Step 3: Build Your Target Zone
You don’t need a full indoor range setup, but a few smart choices make a difference:
- Laser-Compatible Targets: Use CoolFire’s laser module with reactive targets or apps to get instant feedback.
- Scaled USPSA/IPSC Targets: Perfect for competitive shooters. Print scaled versions to match distance limitations.
- Low-Light Options: A simple LED light bar lets you simulate nighttime defensive scenarios.
Pro Tip: Hang a thick piece of cardboard or a tarp behind targets to protect walls and create a defined training area.
Step 4: Add Realism to Your Training
Traditional dry fire is static. To make it effective:
- Use a CO₂ recoil system: CoolFire adds realistic recoil to your actual firearm, so training feels like the real thing.
- Integrate a shot timer: Even in dry fire, time pressure builds speed.
- Mix movement and reloads: Don’t just stand and click. Build real-world reps.
Step 5: Build a Training Plan
Consistency beats intensity. Start with:
- 5–10 minutes per day (you’ll do more if it’s set up and ready).
- Focus on one skill per session: draw speed, trigger control, transitions.
- Track progress: Use a logbook or app to record splits, hit percentage, and improvements.
Recommended Gear Checklist
- CoolFire Trainer Kit for your firearm
- Laser Module + Targets
- CO₂ Refills
- Safe backstop area
- Shot Timer
(Pro move: Bundle these together with CoolFire’s Bronze or Silver kit and you’ll have everything you need out of the box.)
Final Thoughts
Building a safe and effective at-home dry fire range isn’t complicated—but it’s a game changer. With the right setup, you’ll save thousands on ammo, train more often, and build real confidence with your firearm.